How to Change a Kirby Vacuum Outer Cloth Bag
Do you need to change the outer cloth bag of your Kirby vacuum? Here's how!
Important Safety Tips
• Always make sure your machine is unplugged and the power button is turned off, before servicing your vacuum.
• Always make sure your hands are dry and free from moisture before servicing your machine.
• Be sure to wear gloves when servicing your machine to prevent any cuts or scrapes.
• If you are uncomfortable working on your vacuum, please don’t hesitate to contact us at service@greatvacs.com and we can help you through the process or you can send it into us to fix it for you.
Tools
- Needle nose pliers
- Replacement outer cloth bag
Instructions

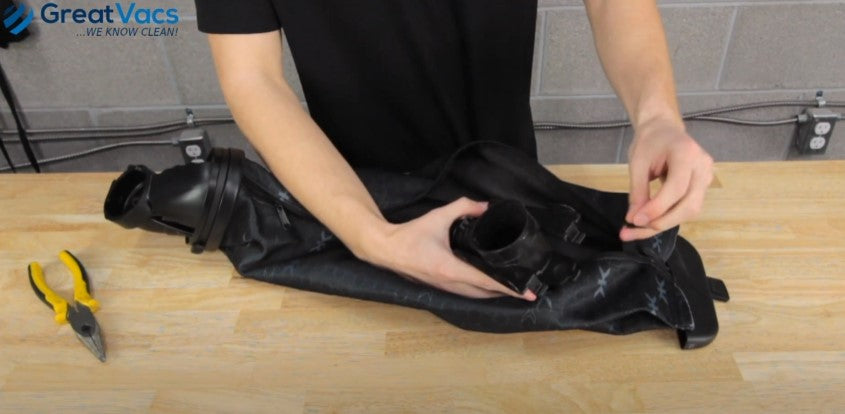
The first thing you need to do is unzip the bag and disconnect the fill tube from the string.

Here's where you’ll need to grab your needle nose pliers. There is a zip tie that holds the bag onto the fill tube. With the pliers you can wiggle it under the zip tie and twist, pulling it open and off. Set the zip tie aside for later!

Locate the flap that is folded over and carefully unfold it off the fill tube. Once its completely unfolded you can just pull the whole thing off! Now you will have just a fill tube.

To put the replacement bag on you can just reverse the process. Slide the bag back over the tube and make sure the zipper is facing the back.

Work the lip back down and once its evenly stretched around the end fold the flap back down. Check your work and make sure that everything is lined up.

Take your zip tie and put it back around the flap, checking that it is straight before tightening. Congrats! You’ve replaced the outer cloth bag of your Kirby vacuum.
We sell replacement outer cloth bags for Kirby vacuum cleaners, so if you need one click here.
Here at Great Vacs we’ve serviced and rebuilt nearly 100,000 Kirby vacuum cleaners, so if you have any questions or comments feel free to leave us a comment! You can also head on over to our Youtube channel to see more educational videos.


