How to Replace the UV Bulb on New Comfort Air Purifiers
In this video, we go over replacing the UV bulb in many of our New Comfort Air Purifiers. If you have a New Comfort SS700 model, check out this video specific to that model.
Important Safety Tips
- Always make sure your machine is unplugged and the power button is turned off, before servicing your vacuum.
- Always make sure your hands are dry and free from moisture before servicing your machine.
- Be sure to wear gloves when servicing your machine to prevent any cuts or scrapes.
- If you are uncomfortable working on your machine, please don’t hesitate to contact us at service@greatvacs.com and we can help you through the process or you can send it into us to fix it for you.
Instructions
If your UV bulb in your New Comfort air purifier isn’t illuminating there could be a few reasons. It could be broken, burnt out, defective, or possibly not locked in. If the bulb is damaged or defective it will need replaced.

To replace the bulb in a 6 stage air purifier you will need to start by removing the back cover.

Then take the filters out.

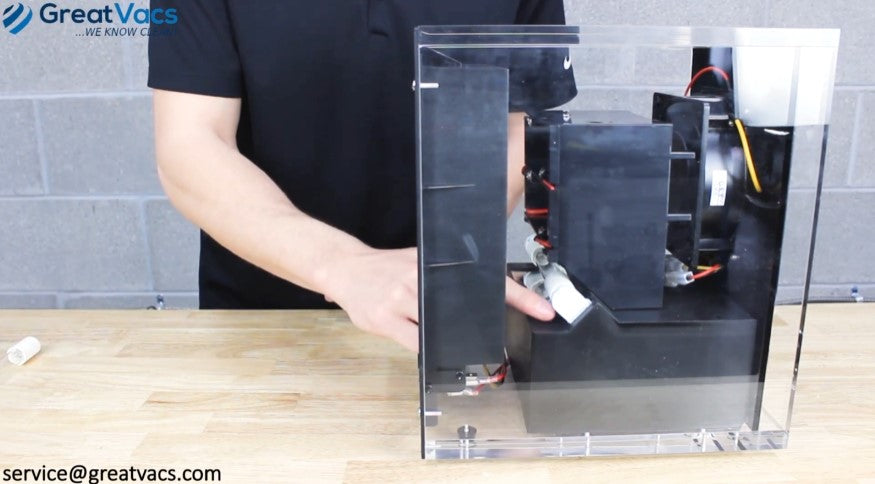
The light bulb is located as shown in the image above.

To remove it twist it toward you and pull it out.

Insert the new bulb and twist it forward until it locks into position.

Now replace your filters and back plate and you’re done!
Check out our New Comfort products here!
If you need any parts, supplies or have any questions, email us at service@greatvacs.com or leave a comment! You can also head on over to our YouTube channel to see more educational videos on all of our products.


